Learning about shutter speed, aperture, and ISO is the very first step stone to become a better photographer. Anyone can be a photographer now days. DSLR cameras and mirrorless cameras are smart enough to automatically set the settings for you to take a picture. However, that doesn’t mean it will take a good picture. It is now for you to turn that auto mode to manual mode and start taking better pictures. Today, we are going to learn about the basics of photography: Shutter speed, aperture, and ISO. What are they? And what do they do?
Shutter Speed
Shutter speed controls the time of which the camera sensor is exposed to the light. For example, shutter speed of 1/1000 exposes the camera sensor to the light for 1/1000 of a second. Shutter speed allows you to freeze the action. To freeze the action, shutter speed greater than 1/500 is recommended. If you would like to show some motion blur, shutter speed less than 1/30 is recommended. Here are some examples.
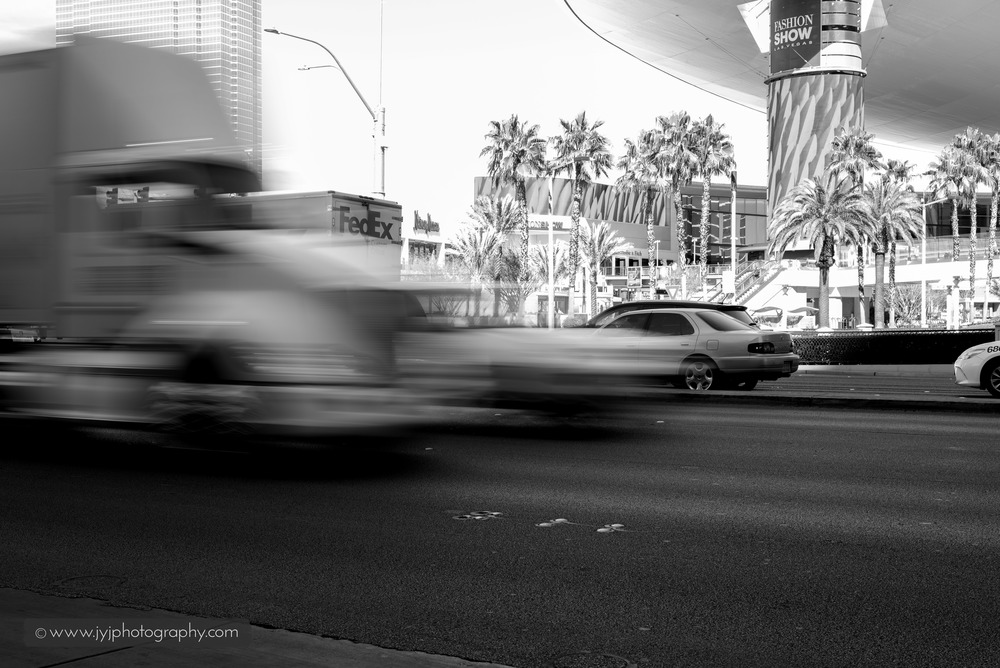
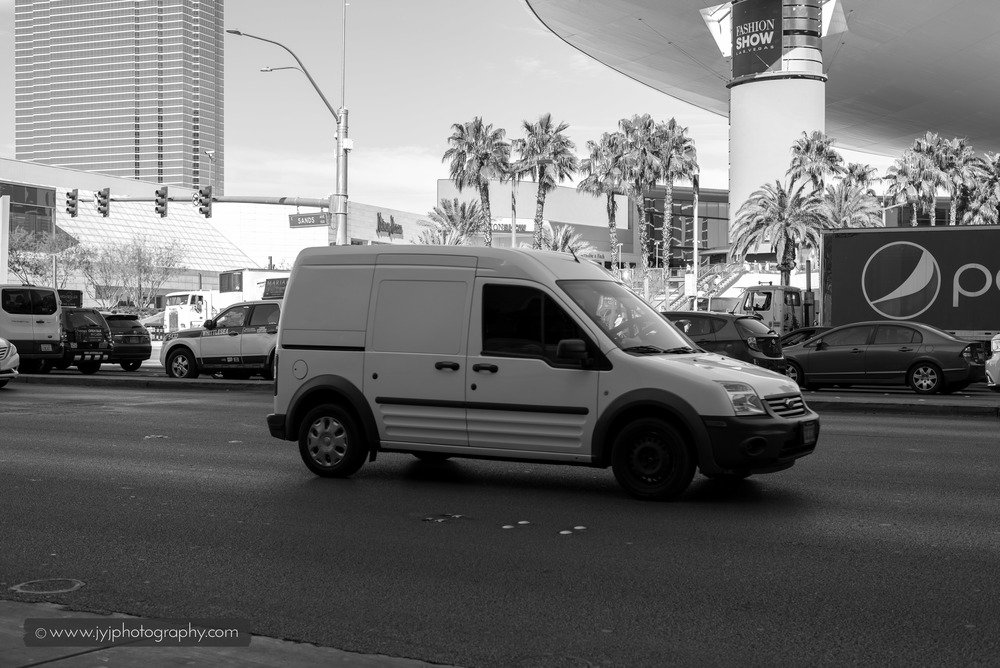
Higher shutter speed creates the sharpest image with proper lighting. Always use the (1/focal length) rule to create sharp images without camera shake. If you are suing 50mm lens, use 1/50 or higher. If not, try to use tripod.
Aperture
Aperture controls the amount of the light getting to the sensor. Higher aperture value lowers the amount of the light. It’s inverse, lower aperture value gives more light to the sensor. Aperture also controls the depth of field. Low aperture allows you to achieve very shallow depth of field. If you are a bokeh lover, you want to use the lowest possible aperture that your lens allows. Here are some examples.
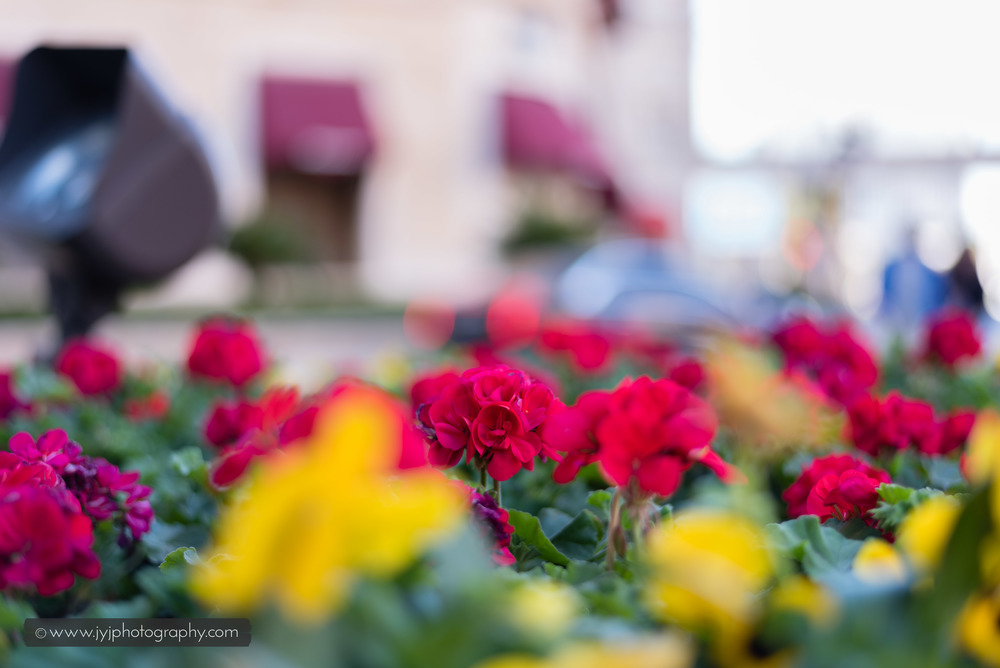
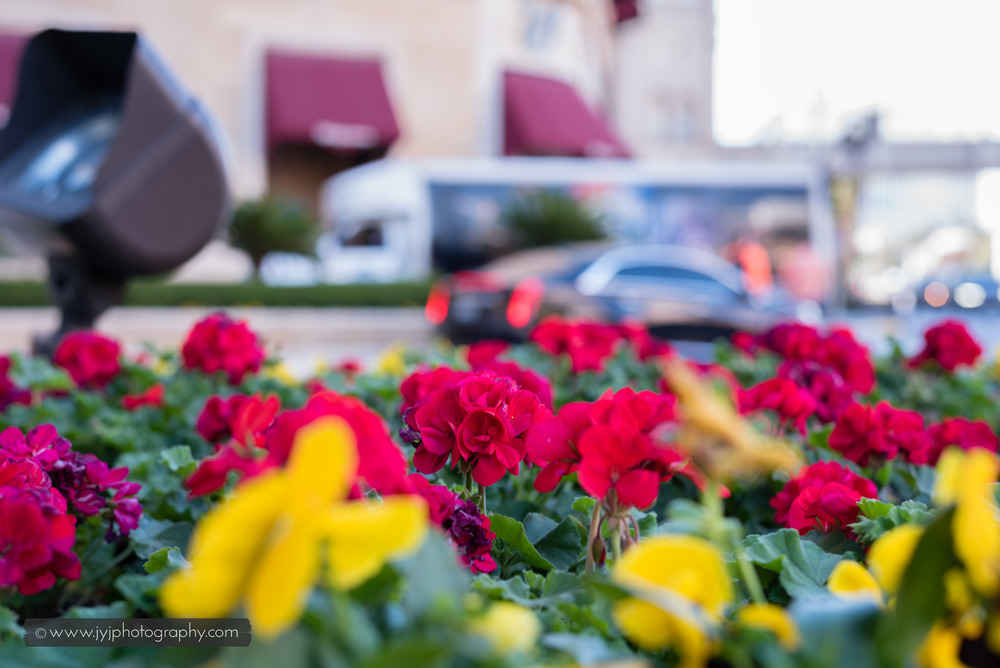

As you can see, low aperture creates very blurry backgrounds. This is often used in portrait and wildlife photography to make the subject standout from variety of backgrounds. However, in the landscape photography, where you want to capture every bits of detail, use the highest possible aperture. In a sunny day, use the sunny 16 rule. (Aperture: f/16 @ shutter speed of 1/ISO)
ISO
ISO is the sensitivity of camera sensor to the light. Greater this number, camera sensors get more sensitive to the light. Draw back of using high ISO is the digital noise. Each camera has different ISO performance. Some cameras handle ISO better than others. Also, full frame cameras (Canon 5DMK3 or Nikon D810) have significantly better ISO performance than cropped cameras (Canon 7DMK2 or Nikon D7200). ISO is the main reason for the photographers to buy expensive camera bodies.
ISO 100 (or 50 in some cameras) creates the sharpest and almost digital noise free images. Always shoot at ISO 100 until raising ISO is a must. Majority of outdoor photoshoots during the day can be done in ISO 100. Photoshoots during the night or indoor may make you to use higher ISO. Here are some examples.
Lens profile correction enabled and no noise reduction. RAW converted to jpeg.


Higher ISO usually makes the image very grainy and sometimes unsharp images. But, a shot is better than nothing. You can turn down the digital noise through Lightroom. You may have to sacrifice some details and sharpness in the photo, but it looks much better.
Now, if you made it this far, congratulations! You now know more about photography than 90% of the people who own a camera. You spent quite a money on your camera. Why not take an awesome picture with it? I hope this guide was able to teach you the basics of photography. Go out and shoot in manual mode; No more auto!