Personally, I’m not quite fan of presets. Although presets can save hours during post, it ruins the fun experience of editing process, and it often makes me lazy. Sleeklens approached me last month if I could do a review for one of their preset/actions, and I gave it a shot. Lets take a look.
*This blog was sponsored by Sleeklens; However, I was not paid to make this review. Review is done honestly and are strictly personal opinions.
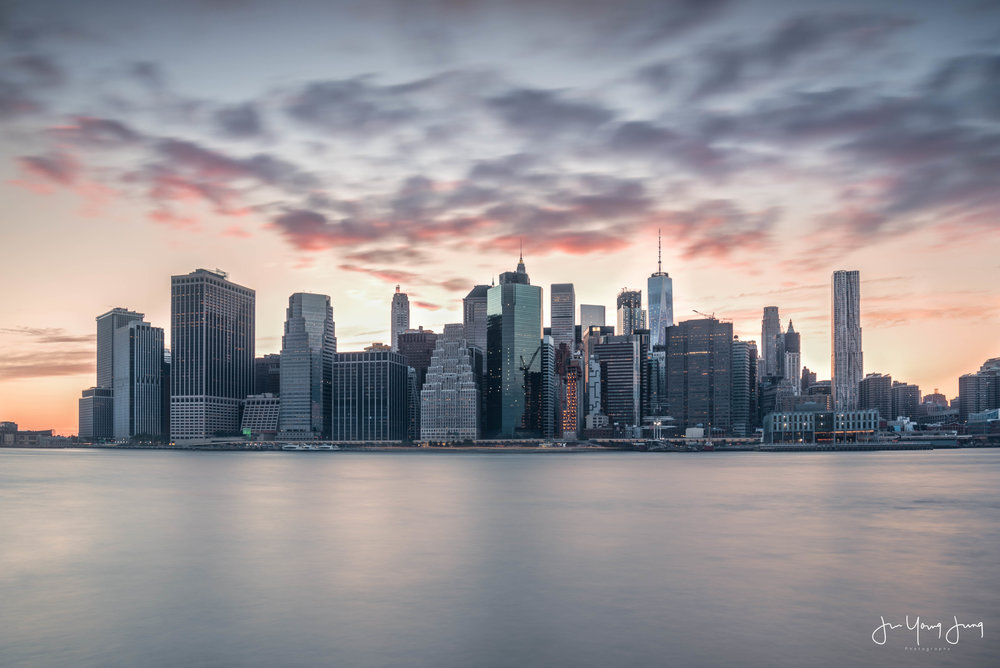
Sleeklens gave me their landscape adventure collection, and for a photographer who simply don’t have plain open time for editing, this tool can be a life saver. While I was in New York, I woke up in the morning, go out, take photos, and come back late night exhausted. I had little to no time for editing photos. Check out my New York Trip blog to see the photos! They are all edited using Sleeklens.
Sleeklens allowed me to do quite of intense, in-depth photo editing in a fairly shorter time than usual. I wanted this Photoshop actions to allow photographers to edit at their own discretion, and Sleeklens does just that. I love the fact that it requires you to brush in, fine tune the filter, and give you an option to further advance the presets by editing it to your own style.
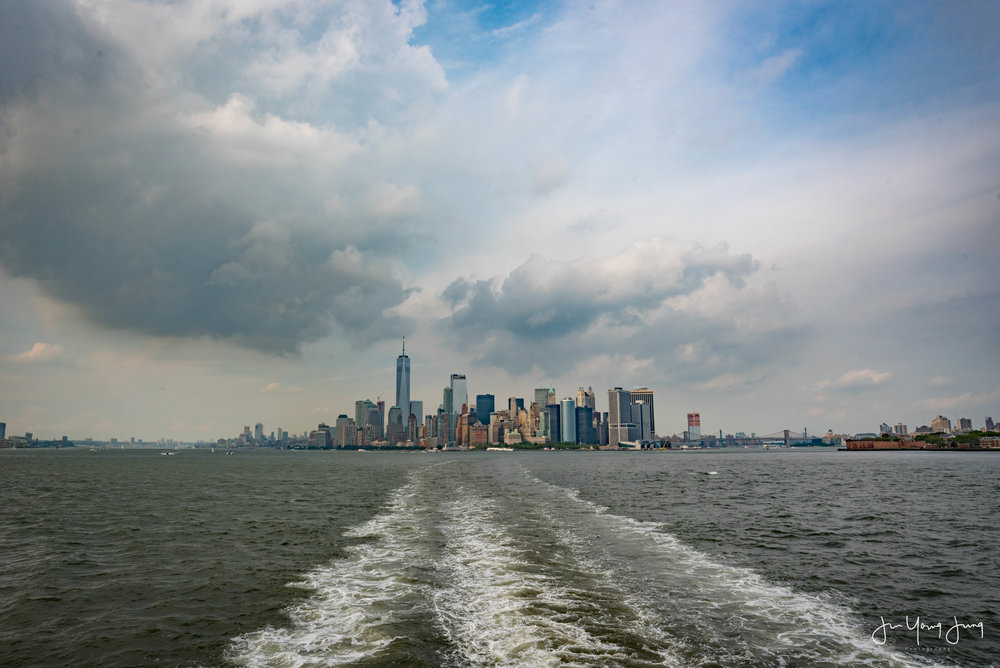
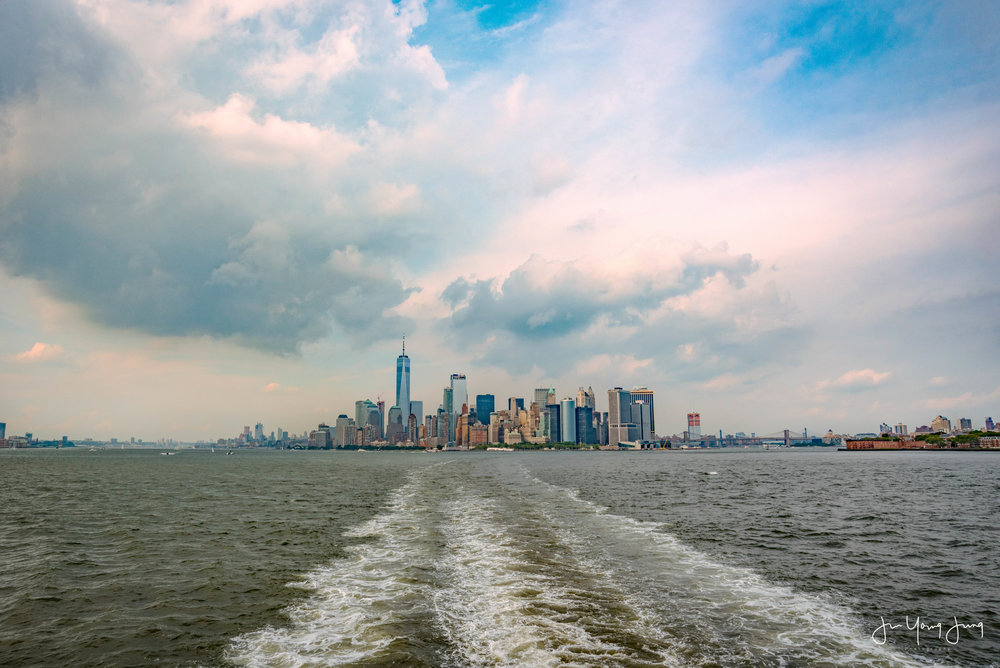
I love Lightroom’s dehaze tool. It does multiple thing at once to clear foggy, less contrasted area. However, dehaze tool is quite destructive, and photos start to look dingy when pushed to extreme. Based on my experience, Sleeklens does an awesome job at dehazing job. Photographing New York City at a distance can be challenging due to strong haze in the atmosphere, but Sleeklens enhances the color, contrast, and clarity very well.

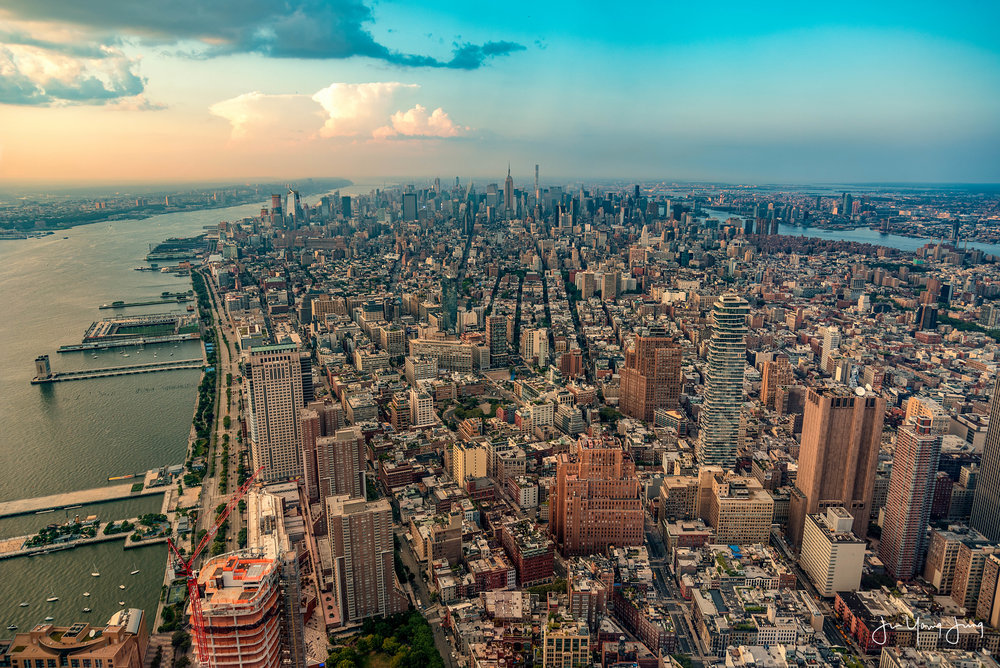
I used Sleeklens to give final touches to the image. Basic color correction and lens profiling is done through Lightroom, and brought to Photoshop to use Sleeklens to finish it off. I really like it; The user interfaces are easy, filters are intuitive, and has quite of variety to it. Some filters result unrealistic colors and/or contrasts, but with minor opacity adjustment and masking, you can make your photo look really good at minimal time. Am I going to continue use Sleeklens? Most likely, because it’s a super time saver.
Sleeklens have workflows for both Lightroom and Photoshop to meet your daily editing style. I used their Photoshop actions, and man it saved me hours in editing, and thank you Sleeklens providing me one of your workflow.
Visit their website https://sleeklens.com, to learn more about their workflow. The one I used, Landscape Adventure Collection can be found through this link.
Thank you all for visiting my blog, check out my previous posts, and even consider getting one of my prints to support! Thank you again, and like always, I will see you in the next one.

![[New!] Milky Way at Death Valley](http://static1.squarespace.com/static/55f33e3ee4b01e51d6e40e94/55f59eb6e4b0741ffa9dcdda/5ae755bc562fa7d975e48092/1533780399907/Death+Valley.jpg)


